| title | description |
|---|---|
How to install OpenVPN |
Installing OpenVPN via Turnkey Images
|
OpenVPN® Community Edition provides a full-featured open source SSL/TLS Virtual Private Network (VPN). The TurnKey Linux VPN software appliance leverages the open source 'openvpn-server', 'openvpn-client' and 'easy-rsa' software (developed by OpenVPN® Inc.) to support "site-to-site" or "gateway" access. "Site-to-site" can link 2 otherwise unconnected LANs; suitable for multi-site enterprise networks or linkage to an Amazon VPC. "Gateway" configuration can secure traffic across public and/or insecure wifi connections and/or provide a secure solution for remote work scenarios.
- In your KVM dashboard click AutoInstall OS
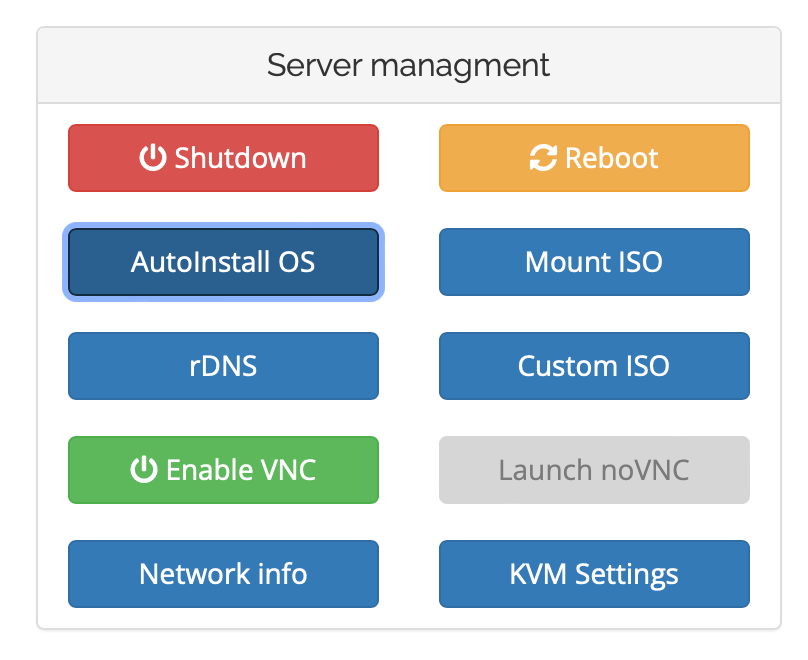
- Click on the "Turnkey Images" tab
- Select OpenVPN from the dropdown
- Click "Start the installation"
- Start a VNC session and finish the installation / configuration of the appliance accordingly.
For security reasons, there are no default passwords. All passwords are set at system initialization (in the VNC session).
Ignore browser SSL warnings: browsers show warnings when using self-signed SSL certificates. This is the only certificate that can be generated automatically. If you have a domain name configured, you can generate a free Let's Encypt SSL certificate via Confconsole Advanced menu.
Web - point your browser to
- http://12.34.56.789/ - not encrypted so no browser warning
- https://12.34.56.789/ - encrypted with self-signed SSL certificate
Username for OS system administration:
Login as root
-
Point your browser to:
- https://12.34.56.789:12321/ - System control panel
- https://12.34.56.789:12320/ - Web-based command line terminal
-
Login with SSH client:
ssh [email protected]
- Replace 12.34.56.789 with your KVM IP address