| title | description |
|---|---|
How to Wireguard VPN |
Guide to install and set up Wireguard VPN service.
|
This article will guide you to use a simple interactive script that sets up a Wireguard VPN server with Adguard, Unbound and DNSCrypt-Proxy on your VPS of choice, and lets you manage the config files using a simple WebUI protected by two-factor-authentication.
- Wireguard WebUI (via wg-easy)
- Two-factor authentication for the WebUI (Authelia)
- Hardened web server (Bunkerweb)
- Encrypted DNS resolution with optional ad-blocking functionality (Adguard Home, DNSCrypt and Unbound)
- UFW and Fail2Ban
- Automated and unattended upgrades
- SSH hardening and public key pair generation (optional, you can also use your own keys)
- E-mail notifications (using an external SMTP server, e.g. GMail)
- A KVM-based VPS with a dedicated IPv4 address.
- One of the supported Linux distros:
- Ubuntu Server 22.04
- Ubuntu Server 20.04
- Debian 11
Now that you have your new EDIS Global VPS server up and running, lets connect to it by typing in the terminal of your preference (If on Windows OS you can use Putty for example) and type:
ssh root@server-ipv4Once connected to our remote VPS we need to call out the script that will automatically install everything for us.
wget https://notthebe.ee/vpn -O bootstrap.sh && bash bootstrap.shThe script will start to update the system, install required packages and when it's done it will pause at the following screen:
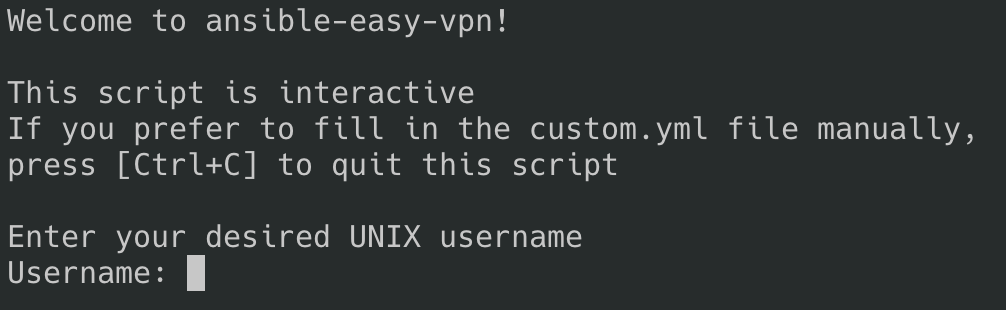
After following the on screen questions like SSH key, DNS, etc. It will ask you to run the playbook and we say YES:
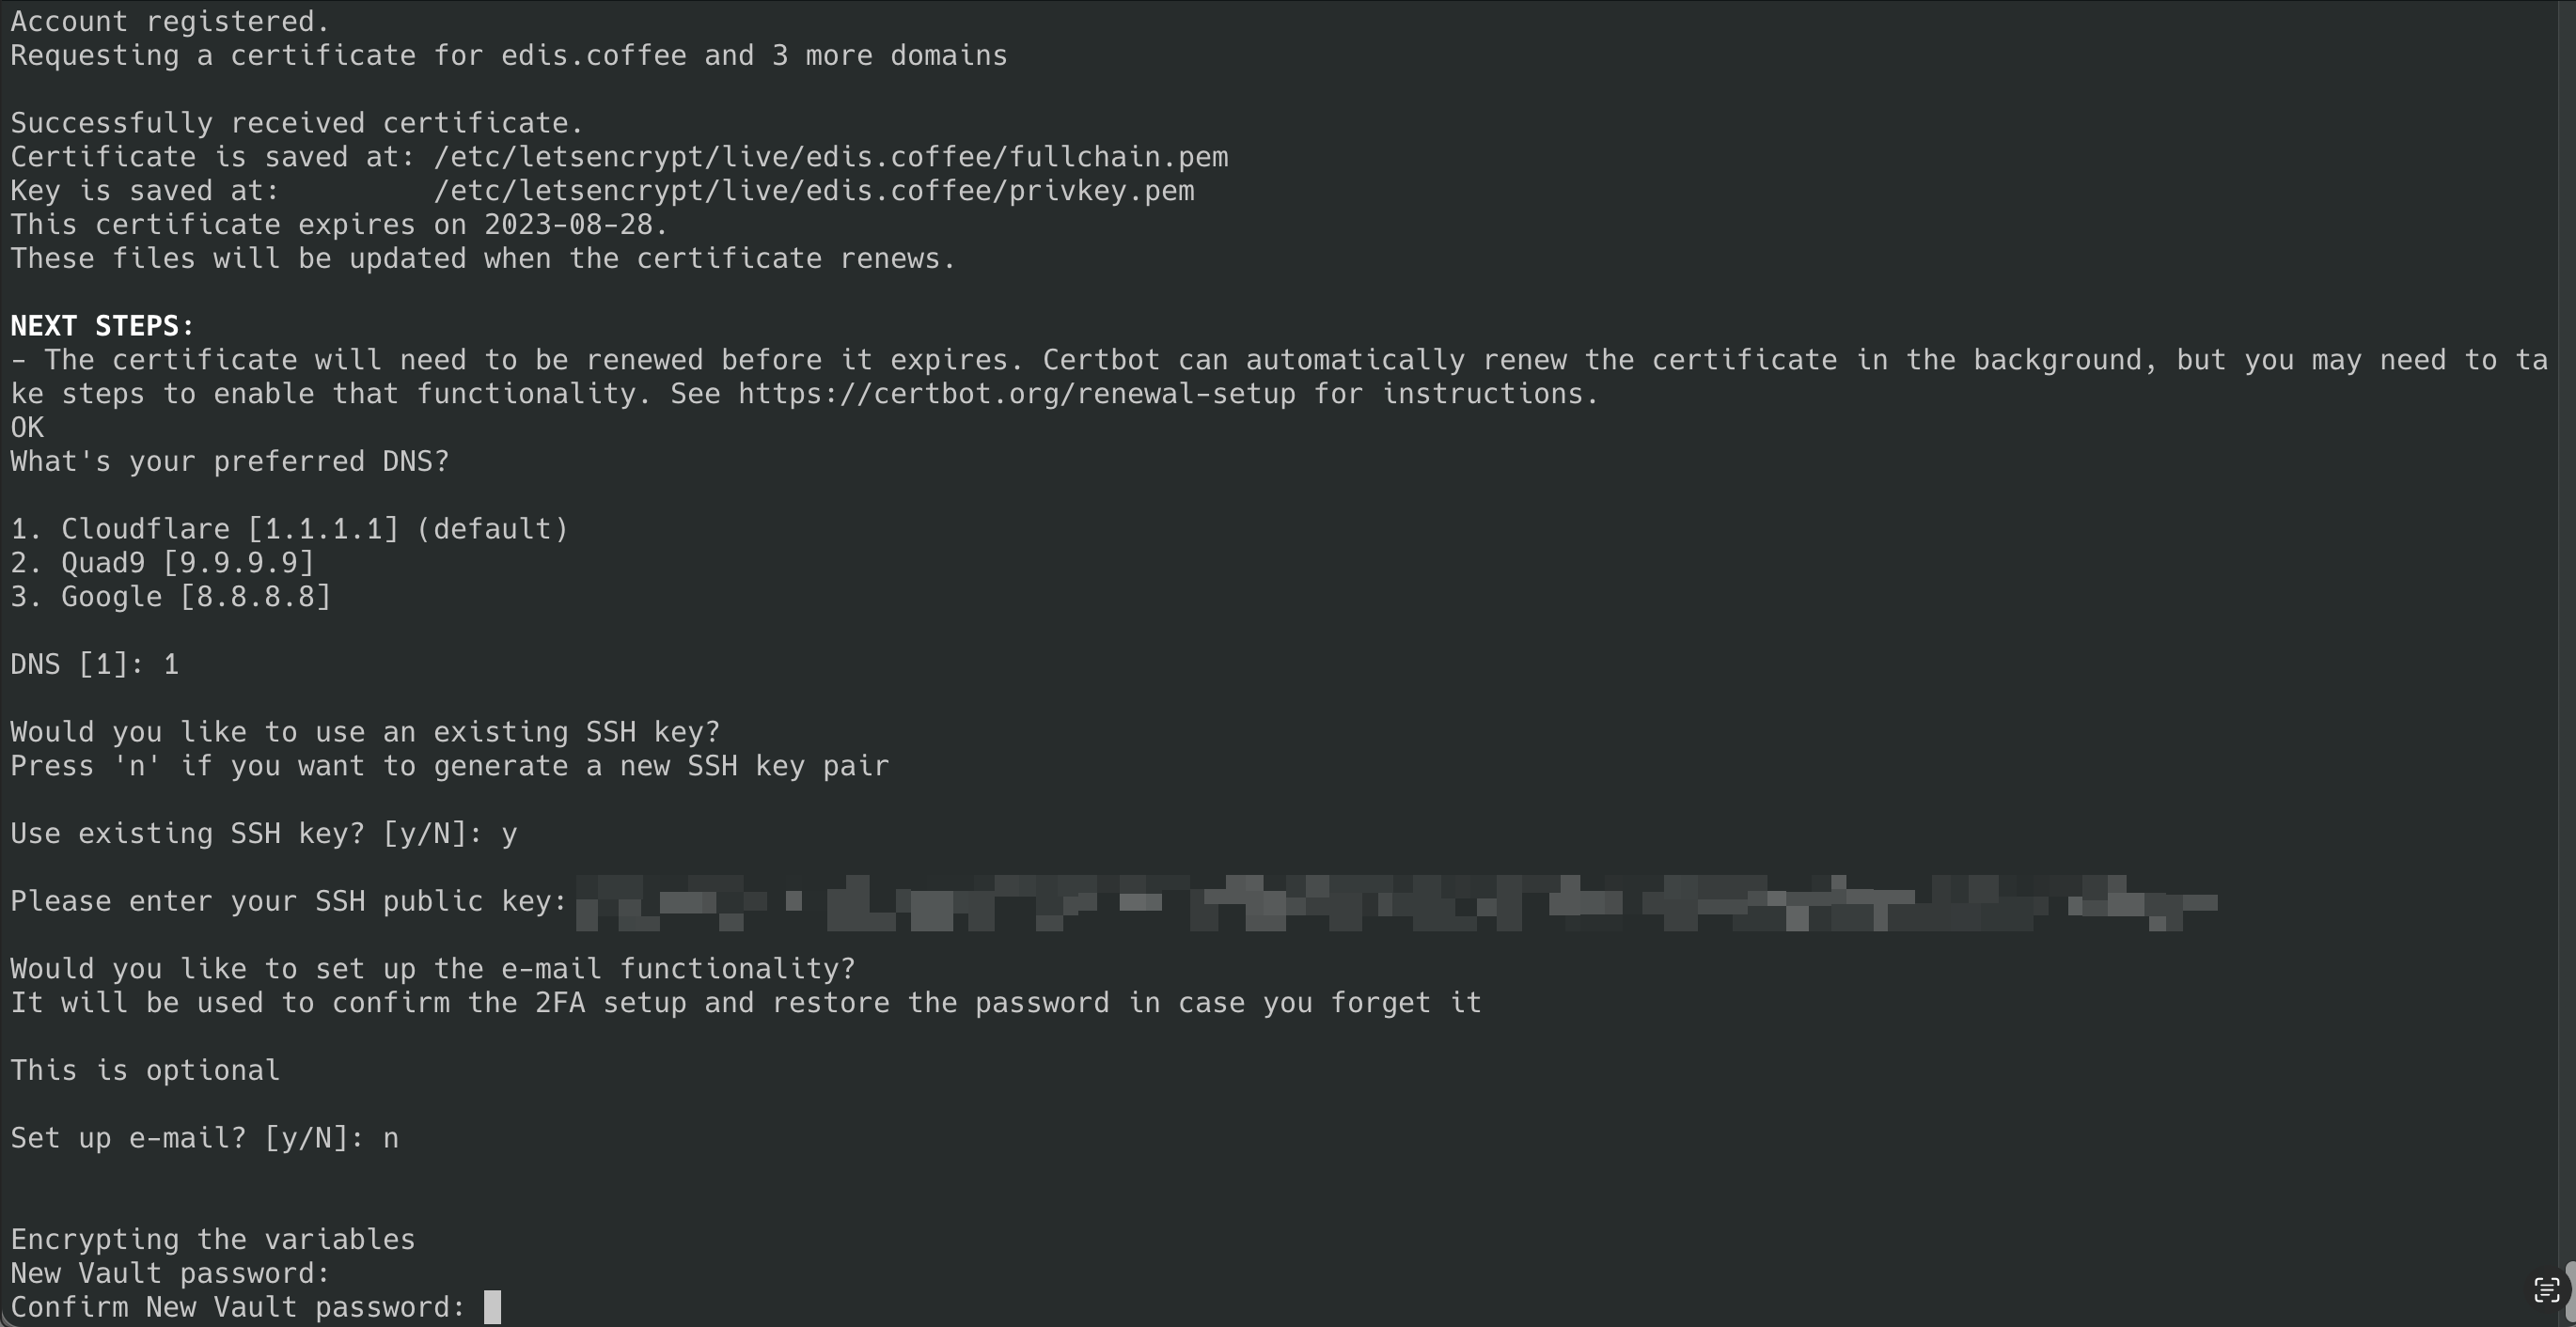
After everything has been set up it will ask you and guide you to remote login via ssh to the server using your provided or generated ssh key. After a successful login press ENTER to finish the setup.
The script generates SSL certificates and a subdomain for the Web UI. If the provided domain was https://edisglobal.at our web ui will be https://wg.edisglobal.at to manage Wireguard users
When login to the web ui, remember to use the new user and password provided in the set up. If optional email was not set up the, while logging in the web UI we need to get a code by typing in our vps terminal:
show_2faThis will generates a link for us to be able to set up 2FA and will look like this:
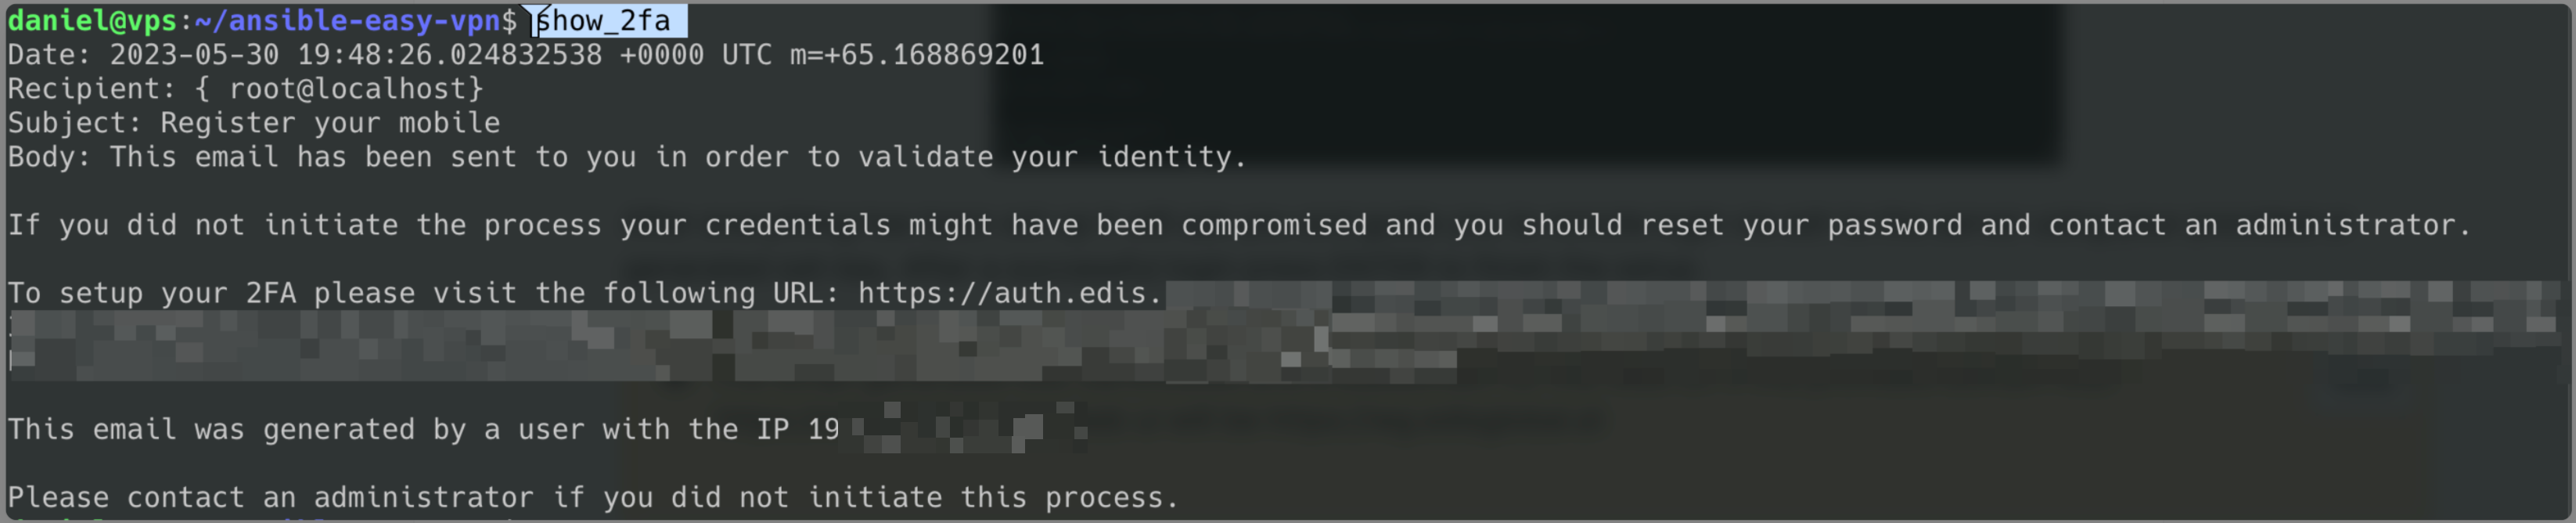
It will present us with a QR code we can scan and add to our 2FA application. After a successful login in we will presented with a web UI where we are able to add users to our new Wireguard VPN server.

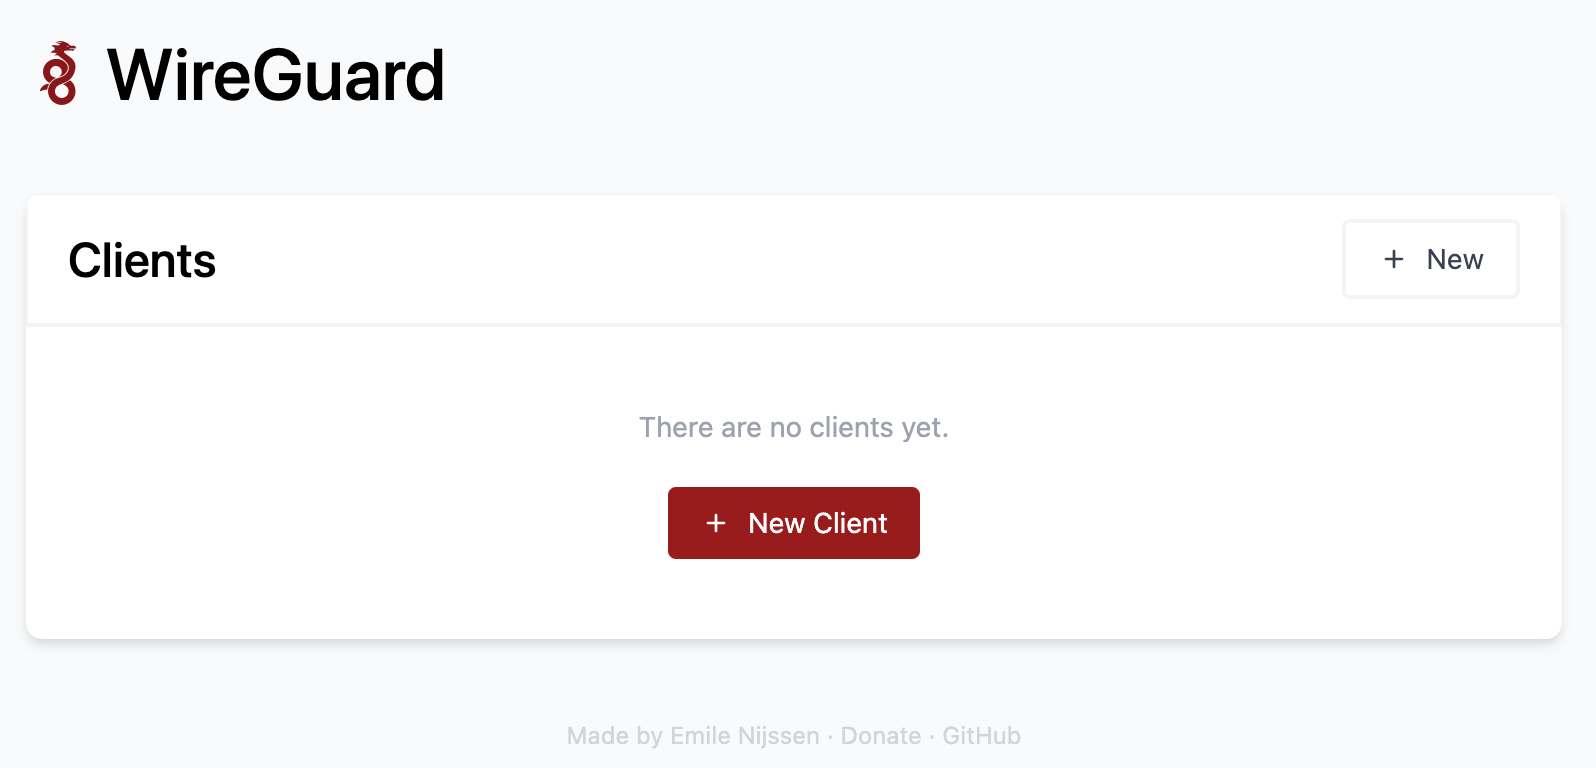
Now you are able to add users and share the credentials. Enjoy your new VPS server! Remember to visit the script author for any support!